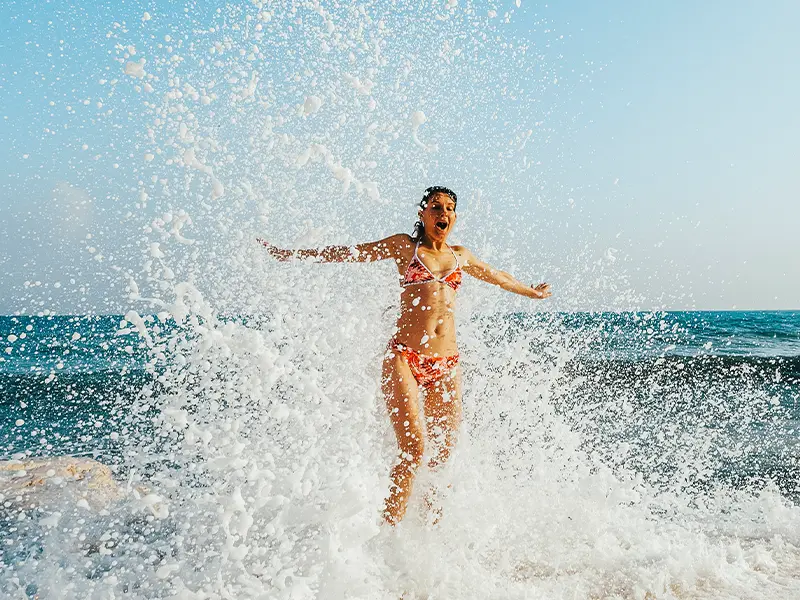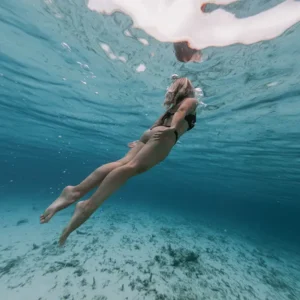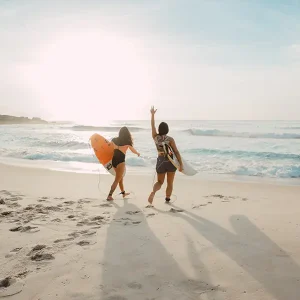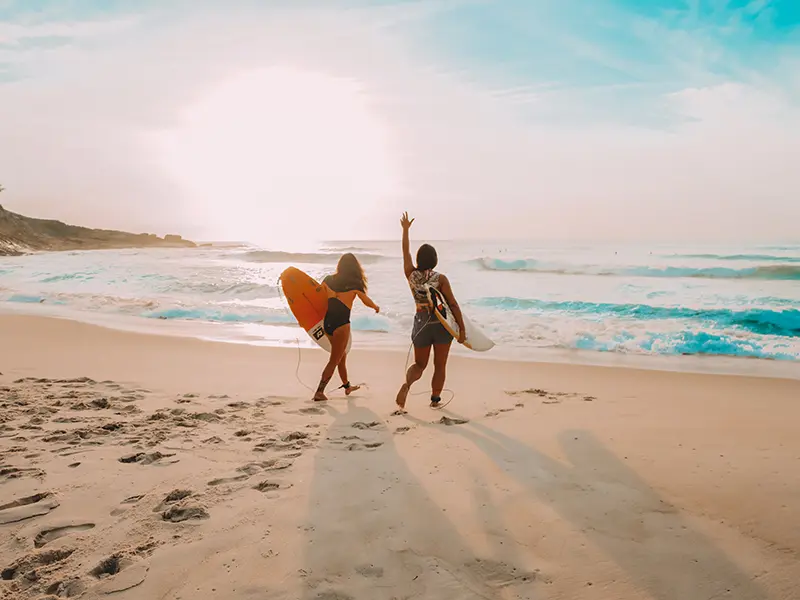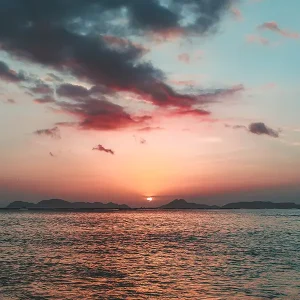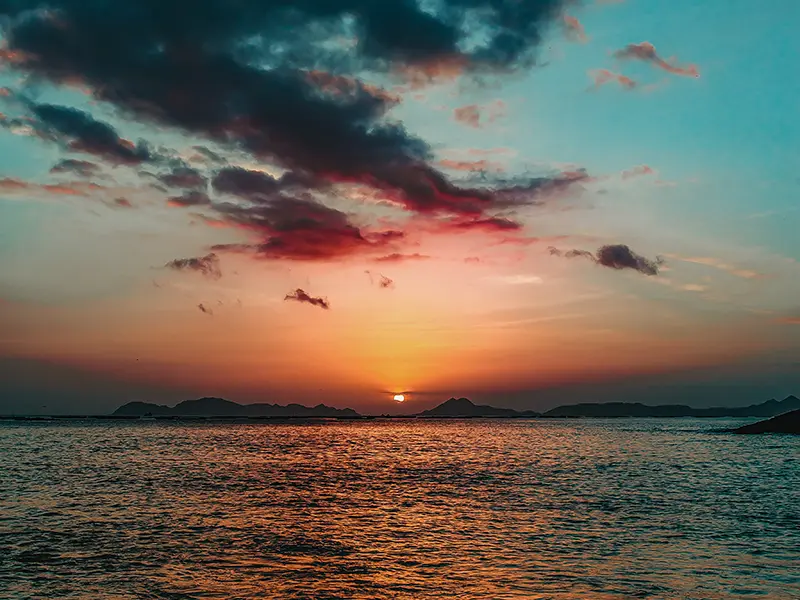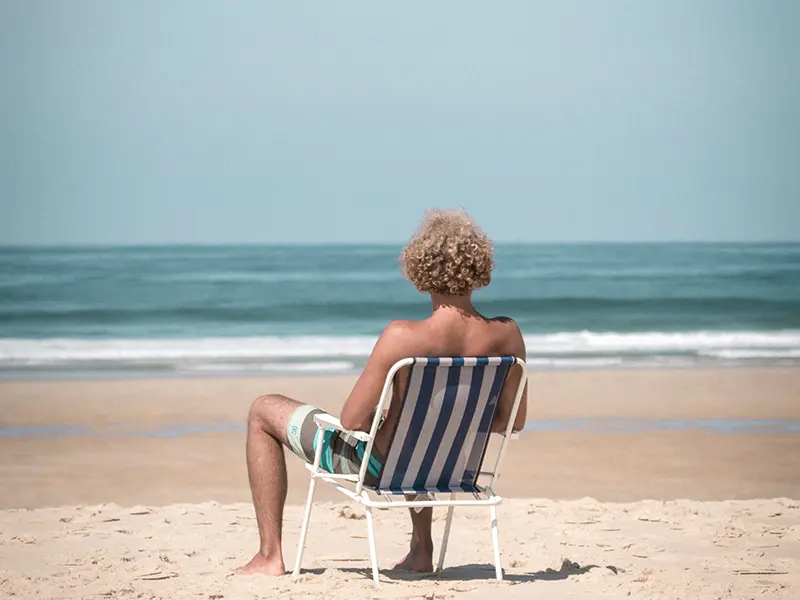
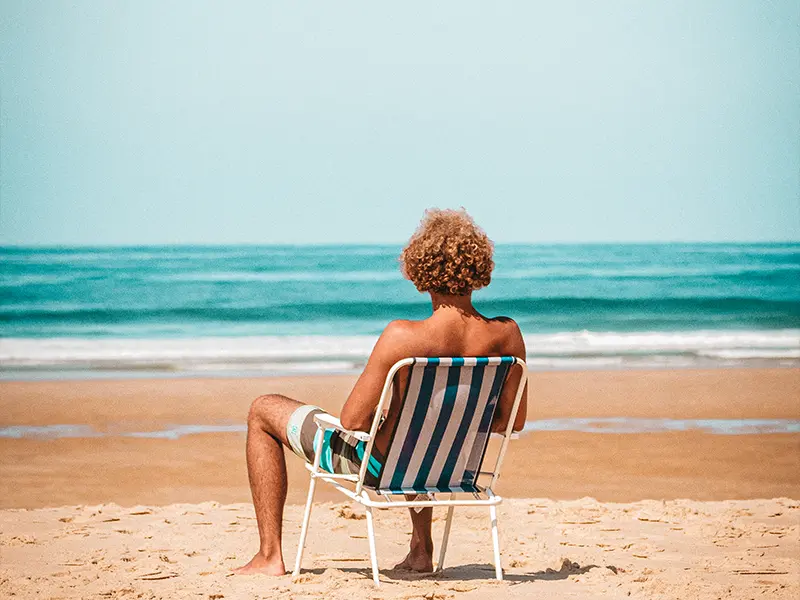
Lovely Island
The wonderful thing about islands is that they are surrounded by the sea!
These settings are designed to highlight the depth of the blue tones and the rest of the textures of the environment to enhance the beauty of your views. Masterfully convey the memories of that special trip full of crystal clear waters, coasts and fun.
€9.47
Share
Contents
- Mac & IOS LR Template File
XMP File
DNG File - Windows & Android LR Template File
XMP File
DNG File - Using Lightroom LR Template File
XMP File
DNG File
01: Mac & IOS.
Mac .XMP File
Step 1: Download the Tripsst! preset you bought on your device.
Step 2: Open Lightroom (CC or Classic) on your desktop.
Step 3: Make sure the images you want to edit are already imported.
Step 4. Select the image you want to apply the preset to.
Step 5: Select “Develop” on the upper right.
Step 6: Select “Preset” on the left navigation bar.
Step 7: Select “+” next to “Presets”.
Step 8: Select “Import Presets”.
Step 9: Select the preset file you downloaded.
Step 10: Select the preset from your presets options inside Lightroom to apply it to your image.
Mac .DNG File
Step 1: Download the Tripsst! preset you bought on your device.
Step 2: Open Lightroom (CC or Classic) on your desktop.
Step 3: Import the .DNG files the same way you imported the images.
Step 4. Select the .DNG file image.
Step 5: Select “Develop” on the upper right.
Step 6: Select “Create Preset” on the left navigation bar.
Step 7: Name the preset version. Ex: “Sunset 01”.
Step 8: Select “New Group” and name the group. Ex: “Sunsets”
Step 9: Your preset is now imported and saved.
Step 10: Select the preset from your presets options inside Lightroom to apply it to your image.
IOS .DNG File
Step 1. Download the Tripsst! Preset file you bought to your mobile device.
Step 2. Open the free Adobe Lightroom Mobile app.
Step 3. There are 2 ways to add the preset file to the app:
- a. Select the “Add Photos” icon at the bottom right of the screen to open your device folders.
Select the (…) icon at the top right section of the screen. Select “Add Photos” from the drop down menu and select between “Camera Roll” or “Files”, depending on where you saved your downloaded preset file.
Step 4: Navigate to the folder where you saved your downloaded Flourish Preset .dng file.
Step 5: Select the correct preset file and click “ADD” to import it to your Lightroom gallery.
Step 6: Select the newly imported preset file to open the Lightroom editor page.
Step 7: Select the ( … ) icon at the top right section of the screen.
Step 8: Select “Create Preset” from the drop down menu.
Step 9: Name the preset as the preset you bought. Ex: “Tan and Fun”.
Step 10: Click on the back arrow to return to your Lightroom gallery and select the image you’d like to apply the preset to.
Step 11: Select “Presets” on the list of editing buttons below your option.
Step 12: Select the preset you just created and apply to your photo.
02: Windows & Android.
Windows .XMP File
Step 1: Download the Tripsst! preset you bought on your device.
Step 2: Open Lightroom (CC or Classic) on your desktop.
Step 3: Make sure the images you want to edit are already imported.
Step 4. Select the image you want to apply the preset to.
Step 5: Select “Develop” on the upper right.
Step 6: Select “Preset” on the left navigation bar.
Step 7: Select “+” next to “Presets”.
Step 8: Select “Import Presets”.
Step 9: Select the preset file you downloaded.
Step 10: Select the preset from your presets options inside Lightroom to apply it to your image.
Windows .DNG File
Step 1: Download the Tripsst preset you bought on your device.
Step 2: Open Lightroom (CC or Classic) on your desktop.
Step 3: Import the .DNG files the same way you imported the images.
Step 4. Select the .DNG file image.
Step 5: Select “Develop” on the upper right.
Step 6: Select “Create Preset” on the left navigation bar.
Step 7: Name the preset version. Ex: “Summer 01”.
Step 8: Select “New Group” and name the group. Ex: “Summers”.
Step 9: Your preset is now imported and saved.
Step 10: Select the preset from your presets options inside Lightroom to apply it to your image.
Android .DNG File
Step 1. Download the Tripsst Preset file you bought to your mobile device.
Step 2. Open the free Adobe Lightroom Mobile app.
Step 3. There are 2 ways to add the preset file to the Lightroom Mobile app:
- Select the “Add Photos” icon at the bottom right of the screen to open your device folders.
b. Select the (…) icon at the top right section of the screen. Select “Add Photos” from the drop down menu and select between “Camera Roll” or “Files”, depending on where you saved your downloaded preset file.
Step 4: Navigate to the folder where you saved your downloaded Tripsst preset .dng file.
Step 5: Select the correct preset file and click “ADD” to import it to your Lightroom gallery.
Step 6: Select the newly imported preset file to open the Lightroom editor page.
Step 7: Select the ( … ) icon at the top right section of the screen.
Step 8: Select “Create Preset” from the drop down menu
Step 9: Name the preset as the preset you bought. Example: “Fun and Tan”.
Step 10: Click on the back arrow to return to your Lightroom gallery and select the image you’d like to apply the preset to.
Step 11: Select “Presets” on the list of editing buttons below your option.
Step 12: Select the preset you just created and apply to your photo.
Using Lightroom.
How to import photos?
- Mobile.
OPTION 1:
Step 1. Open Adobe Lightroom Mobile app.
Step 2: Select “Add Photos”.
Step 3: Select photos you want to add and confirm.
OPTION 2:
Step 1: Select the photos from your gallery that you want to import to the Adobe Lightroom Mobile app.
Step 2: Select “Share”.
Step 3: Select the Adobe Lightroom Mobile app.
- Desktop.
OPTION 1:
Step 1. Open Adobe Lightroom CC.
Step 2. Select images you want to import to Adobe Lightroom CC.
Step 3. Drag them to Adobe Lightroom CC.
OPTION 2:
Step 1. Select “Import” from the lower left of the navigator.
Step 2. Select the folder where your images are.
Step 3. Select the images you want to import.
Step 4: Select “Import” from the lower right.
How to adjust settings?
- Mobile.
Step 1. Apply preset on your photo.
Step 2. At the bottom of your screen there are several icons:
– exposure – contrast
– saturation – vibrance
– texture – clarity
Step 3. Adjust these settings one by one and see immediate changes on your photo. Modify the options until you are satisfied.
- Desktop.
Step 1. Apply preset on your photo.
Step 2. On the right navigator you will see these settings:
– exposure – contrast
– saturation – vibrance
– texture – clarity
Step 3. Adjust these settings one by one and see immediate changes on your photo. Modify the options until you are satisfied.
How to batch edit?
- Mobile.
Step 1. Open the Lightroom Mobile app.
Step 2. Select the .dng file / image of the preset you bought.
Step 3. Select (…) on the upper right corner of the Lightroom Mobile app.
Step 4. Select “Copy Settings”.
Step 5. Go back and select all the images you want to apply the preset to.
Step 6. Select (…) on the upper right corner of the Lightroom Mobile app.
Step 7. Select “Paste Settings”.
How to batch edit?
- Desktop.
Step 1. Open Adobe Lightroom Classic.
Step 2. Hold down the ctrl button on your keyboard as you select the images you want to edit.
Step 3. On the right navigator, select “Quick Develop”.
Step 4. Select “Saved Preset”.
Step 5: On the drop down, select the preset you want to use on your images.